

Tattoo Needle Cartridge Types Explained: From Liners to Magnums
A Quick Word First
Ten years ago, most artists still soldered their own needles onto bars. It worked, but it was slow. Switching from a liner to a shader in the middle of a session meant stopping everything and rebuilding your setup.
Then cartridges came along, and all of that went away.
We make cartridges for a living, so we watched this change happen up close. Today they are the standard in most shops. They click in and out in seconds, they fit rotary and pen machines, and each one comes sealed and sterilized, so there is no cross-contamination between clients.
This guide explains what the numbers and letters on a cartridge box actually mean. Once you can read the code, picking the right needle for each job gets much easier.
What’s Inside a Cartridge
A cartridge is more than a needle in a plastic shell. Each part changes how it feels in your hand and how it performs on skin, so it helps to know what you are paying for.
The Housing
The shell comes in clear or tinted. Clear lets you watch the ink flow while you work, so you can see it running low before your lines suffer. Tinted cuts glare under bright lamps, which some artists prefer on long sessions. We use medical-grade plastic for both.
The Tip
Open tips let ink flow freely around the needles. You dip less and saturate faster, with a bit less precision. Closed tips feed ink straight to the needle points, which gives you more control on fine lines. Most makers offer both, and so do we.
The Safety Membrane
This is the part we care about most. Behind the needles sits a small silicone membrane. Its job is to stop backflow, so ink and blood cannot travel back into your machine grip. Without it, fluids can pass between clients. In our factory, one failed membrane test means the whole batch gets rejected.
The Stabilizer
Cheap cartridges wobble. You feel the needle shake, and your lines come out fuzzy. Good cartridges hold the needle bar in the center with a stabilizer ring. It costs a few cents more per piece, and you see the difference on the first line.
How to Read the Code on the Box
1203RLST = Gauge (12) + Needle Count (03) + Grouping (RL) + Taper (ST)
Every cartridge code works this way. Learn it once and you will never grab the wrong box again.
The first two digits are the gauge, the thickness of each needle pin. This decides how heavy or how fine your lines will be.
The next two digits are the needle count, how many pins are grouped together. More pins means more coverage per pass.
The letters tell you the grouping, how the pins are arranged. RL, RS, M1, CM, F. Each shape leaves a different mark in the skin.
The letters at the end are the taper, which is how slowly the pin narrows to its point. A long taper narrows over 5mm or more, so the tip is very fine and slips into the skin with little resistance. A short taper comes to a point faster and pushes ink in harder.
Gauge: How Thick Each Needle Is
Gauge is the diameter of one needle pin. Almost everything on the market, including our own line, comes in three sizes.
#08 (0.25mm) — Bugpins
These are the thinnest standard needles we make. They are built for detail: hair-thin lines, soft stipple shading, tiny tattoos. The trade-off is speed. Each pin carries less ink, so building up color takes longer. Use them when accuracy matters more than speed.
#10 (0.30mm) — The Sweet Spot
If we could only make one gauge, it would be this one. #10 sits in the middle. It is precise enough for detail and thick enough to pack color well. Most styles work fine with it, which is why it is our best-selling gauge by far.
#12 (0.35mm) — Standard
This is the classic workhorse. Bold outlines, solid color packing, fast coverage. When an artist is laying down thick black lines or filling big traditional fields, they want the extra ink that 0.35mm pins carry. Heavier on the skin, faster in the chair.
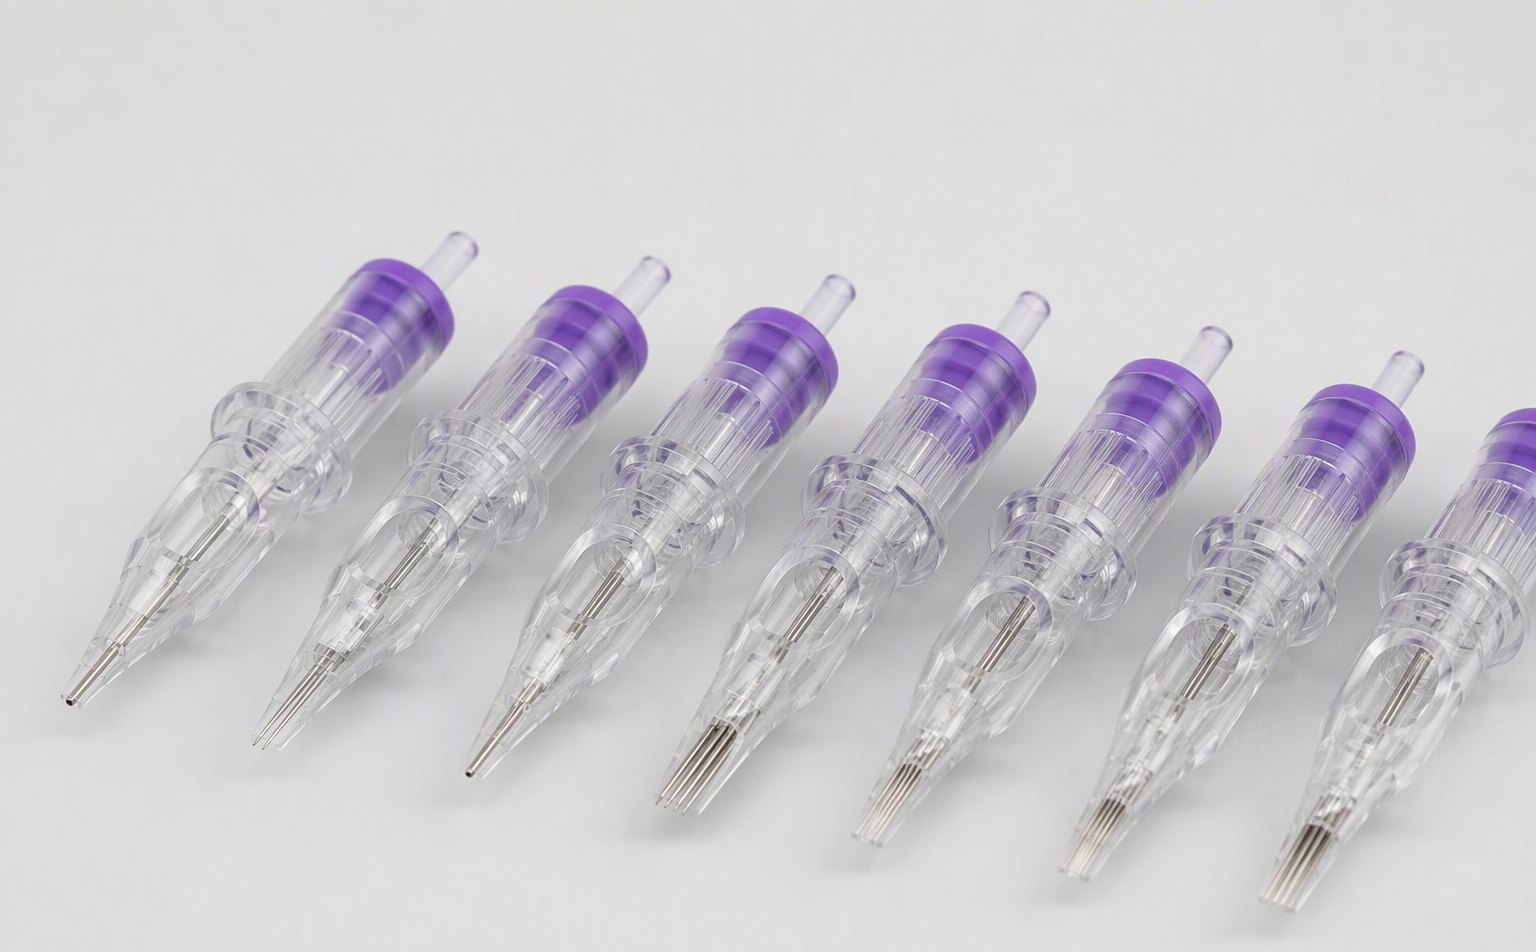
The Main Groupings and What They Do
Same steel, same gauge. But the way the pins are arranged changes everything. Here are the groupings you will actually use.
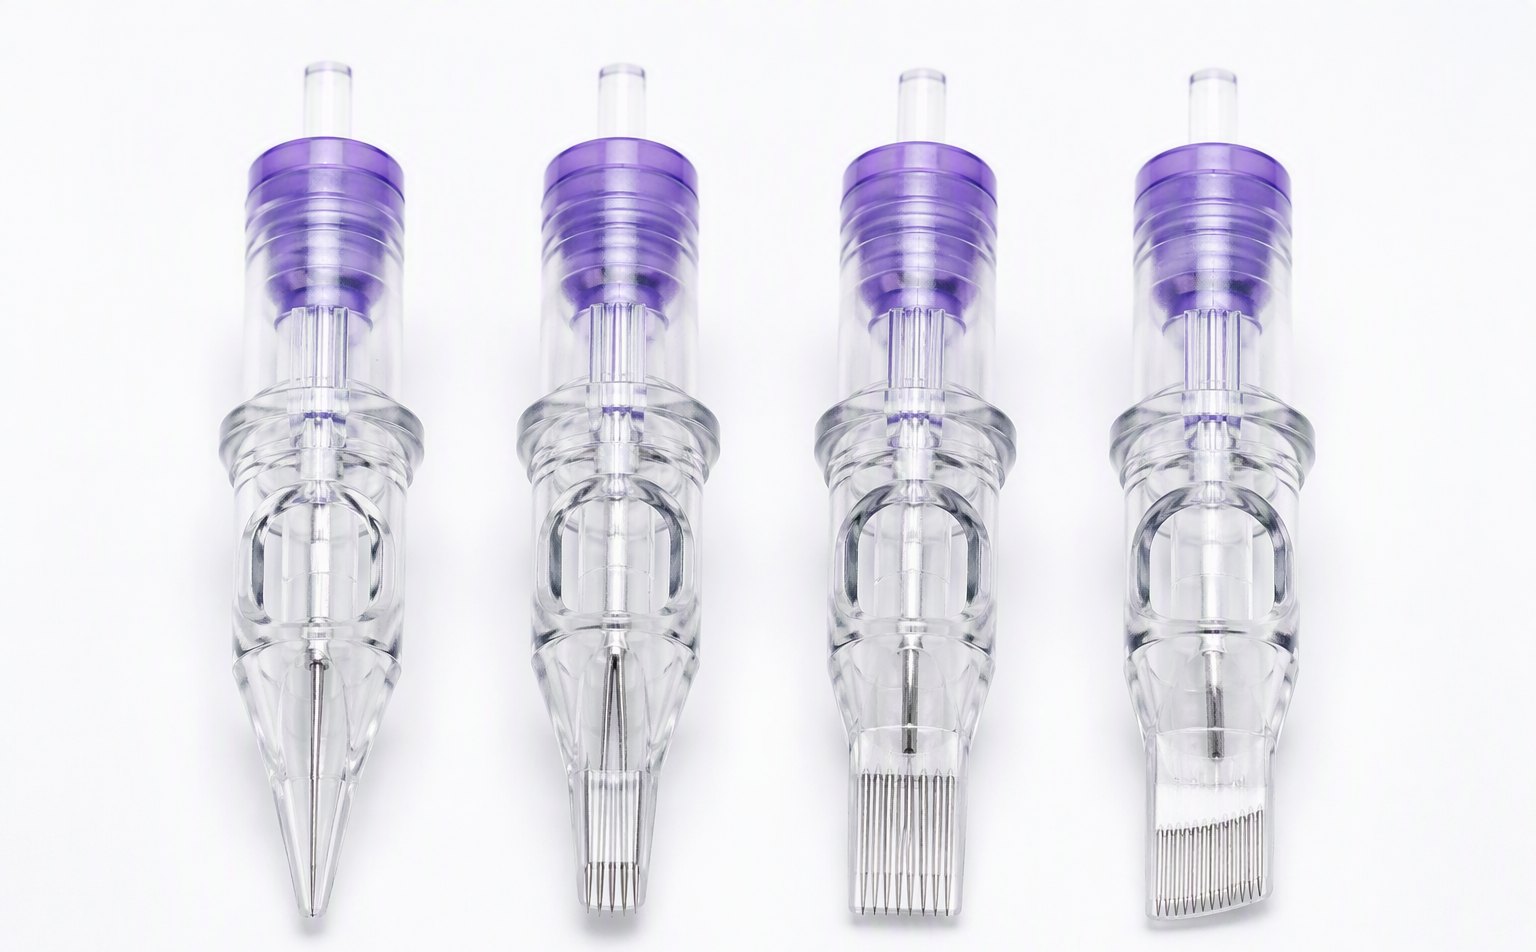
Round Liners (RL)
Pins soldered in a tight circle, all meeting at one point. This is your outline tool. A bold 14RL for traditional borders, a fine 3RL for script. The tight grouping keeps every pin entering the skin in the same spot, so lines heal clean and sharp. Single-needle 1RL and 3RL are what fine-line artists reach for.
Round Shaders (RS)
Same circle, but the pins sit further apart. Each pin enters at a slightly different spot, so the line comes out thicker and softer than an RL with the same count. Good for thicker decorative lines, small fills, and soft edges where a magnum would be too much.
Magnums (M1 / M2)
Two flat rows of needles. This is the tool for packing color and shading large areas. More pins on the skin means more ink per pass. Weaved (M1) and stacked (M2) overlap the rows a little differently, but both do the same job: fast, even saturation. Black-and-grey backgrounds, solid color fields, this is what you reach for.
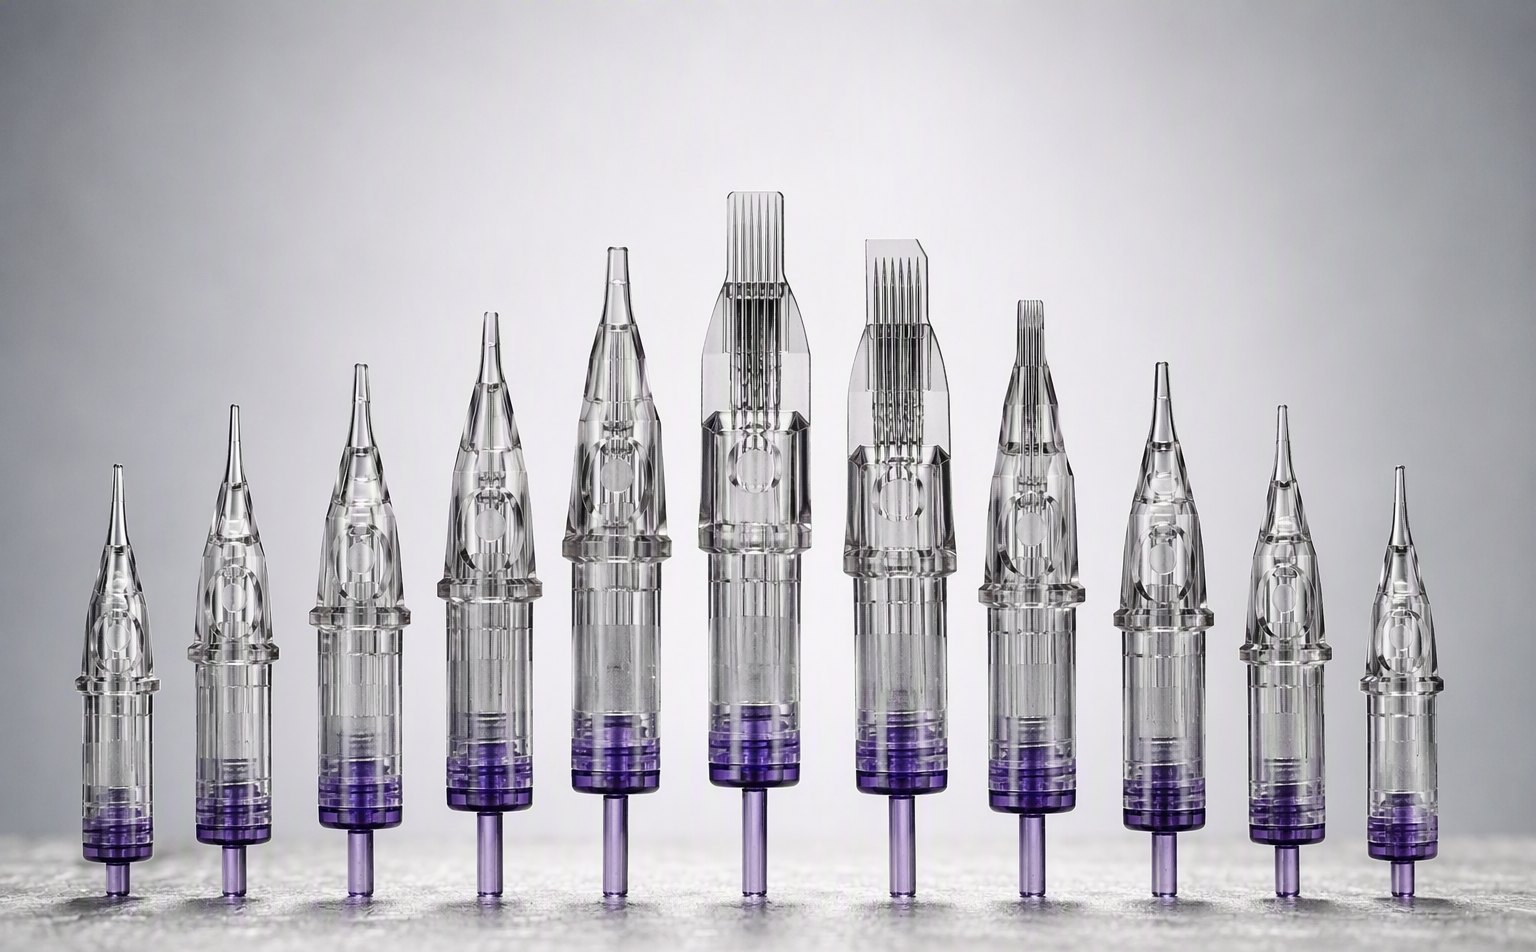
Curved Magnums (CM / RM)
A magnum with the needle row bent into a soft arc. The middle pins sit slightly deeper than the edges, so you get smooth blends without hard lines between passes. For black-and-grey portraits and any work where you want to be gentle on the skin, this is the one.
Flats (F)
One straight row of pins. No curve, no circle. Flats lay ink in an even band, which makes them right for geometric work, mandalas, and hard straight color borders. Not as flexible as a magnum, but nothing beats them when the shape has to be exact.
Taper: The Spec Most People Skip
Taper is how sharply the pin narrows to its point. Most artists never look at this number, but it changes how the needle enters and leaves the skin.
Short Taper (1.5mm–2.5mm)
A blunter point that hits the skin with more force and pushes ink in hard. Good for fast color packing and bold traditional work. The downside is more skin trauma and slower healing.
Long Taper (3.5mm–5.5mm)
The industry standard, and our default. The sharper point goes in cleanly with less resistance, so you control depth better. If you are not sure what to buy, start here.
Super Long Taper (6mm–8mm)
An extra-fine point for the gentlest entry. Made for fine-line work, dotwork, and pepper shading, where the needle barely touches the skin. Very precise, but the points dull faster and need a lighter hand.
What We Suggest for Each Style
Here is what we recommend when studios and distributors ask us what to stock, style by style.
American Traditional
Bold lines, solid color, no blending. #12 7RL or 9RL for outlines that stay sharp after healing. Pack color with #12 flats or stacked magnums. Short to long taper. No bugpins needed.
Black & Grey Realism
This style lives on smooth blends. Go with #08 or #10 curved magnums and long or super long tapers. You will work the same area again and again to build tone, so you want the gentlest needle you can get. Realism sessions also run long, which is where a good membrane and a stable needle really earn their keep.
Fine Line / Micro-Tattoos
Keep it light. 1RL or 3RL with a long taper, usually in #08. Thin pins make thin lines that hold up after healing. One hooked needle ruins a small piece, so quality matters more here than anywhere else.
Neo-Traditional
The flexible style. #10 covers most of it. 7RL or 9RL for different line weights, curved magnums for soft blends, flats for hard ornamental edges. Keep a few types on hand and switch as you go.
What We Check, and What You Should Check
💡 Pro Tip: The Hook Test
Before every session, drag the needle tip lightly across a disposable ink cap at a low angle. If it catches or scratches instead of gliding, the tip is bent. Throw it out. A hooked needle tears skin instead of slicing it, and the tattoo will heal badly.
Not every factory builds to the same standard. Here is what we check before a batch leaves our floor, and what you should check before you open a blister pack.
Sterilization
Every cartridge should be EO gas sterilized, with an indicator on the blister pack that changes color after processing. No color change means not sterile. No exceptions.
Individual Blister Packs
Each cartridge should come in its own sealed blister pack. Bulk bags are cheaper, and not worth the risk. Once the seal is broken, that cartridge is in use. There is no such thing as half opened in sterile work.
Membrane Integrity
Press the needle bar gently from the back of the cartridge. You should feel the membrane pushing back. If the bar slides with no resistance, the membrane is broken or missing. Do not use it.
Brand Reliability
The membrane is the one part you cannot fully check with your eyes. You have to trust that the maker built it and tested it right. So ask your supplier how they test. If they cannot answer, that tells you something. On our side: we pressure-test every batch, and one leak means the whole lot is scrapped.
Conclusion
There is no single best needle. There is only the right needle for the job in front of you: the design, the skin, the style, and how long the session will run.
Once you know the parts, the codes, and the groupings, you stop guessing. The best artists we supply can tell you exactly why they picked a 1007CM over a 1209M1 without thinking twice.
If you are new to this, start with a variety pack. Run different setups on practice skin. Feel the difference between tapers, and watch how a curved magnum blends compared to a flat one. Ten minutes of hands-on testing teaches more than any article, including this one.
Need a Reliable Needle Supplier?
Now you know what the codes mean. The next step is finding a maker who builds them right.
We are R&G Bio. Every cartridge comes out of our ISO 13485-certified factory, EO-sterilized and individually blister-packed. We supply shops, distributors, and private-label brands in more than 50 countries, with low minimums and fast lead times.
Want a sample batch to test, or a full private-label run? Tell us what you need and we will answer within one business day.