

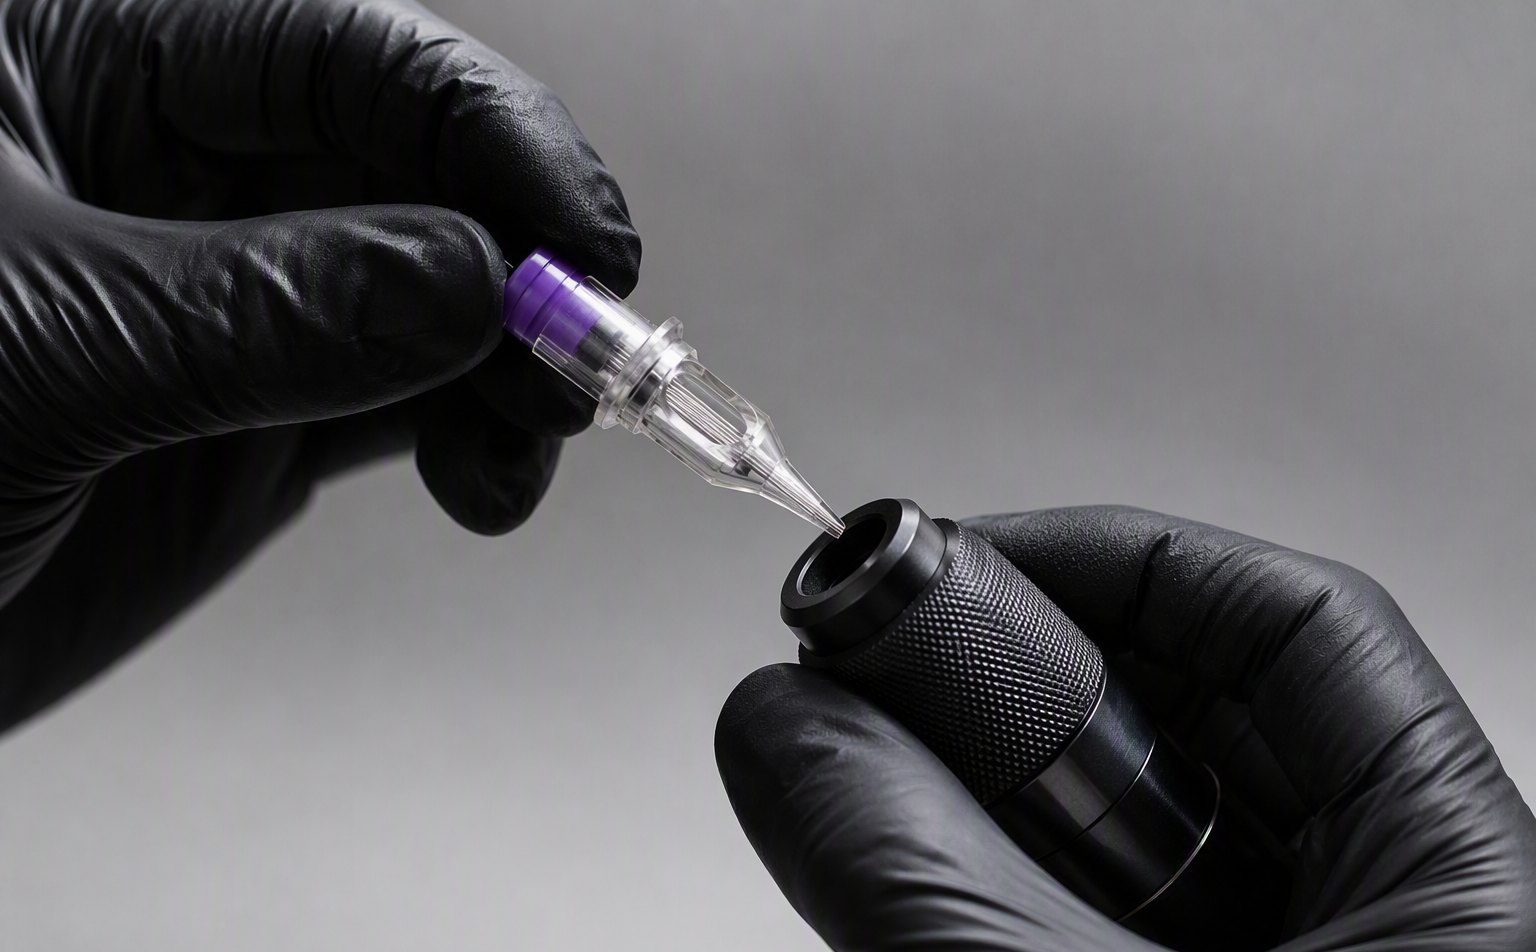
Every second your machine sits uncovered is a second you lose focus. We build thousands of cartridges a day, and over the years we have watched exactly where artists lose time during setup and where they can shave seconds off without cutting corners on safety. This is the 30-second method we teach. It works on pen machines, rotary grips, and any system that takes standard cartridges.
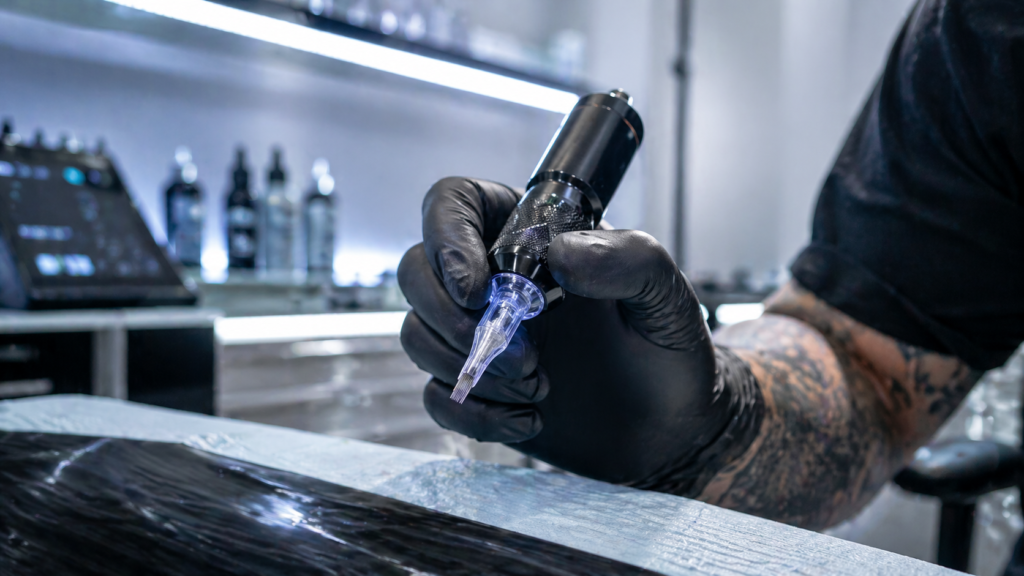
1. Why Speed Matters
Traditional needle bars meant soldering, rubber bands, and constant tuning. Cartridges did away with all that. But the real win is not just convenience. It is momentum. When you stop mid-session to fumble with a needle change, your client feels it. The skin cools, the stencil shifts, and you step out of your rhythm. A fast swap keeps you locked in. It also means sterile equipment spends less time exposed to the air. Speed is a hygiene habit too.
⚠️ Safety First: The 30-second rule only counts if your station is already prepped. Speed without sterility is reckless. Every shortcut has to sit on top of proper hygiene habits.
2. Phase 1: Pre-Flight Check (10 Seconds)
We see too many artists rush the prep and blame the cartridge later. A cartridge is only as clean as the hands and machine that touch it. Before you touch the wrapper, confirm three things:
💡 Pro Tip from the Factory Floor
Store cartridges needle-tip down in your tray. Gravity keeps the internal membrane seated. We test every batch for backflow resistance, but storing them tips-up can loosen the seal over time.
3. Phase 2 — The 30-Second Installation
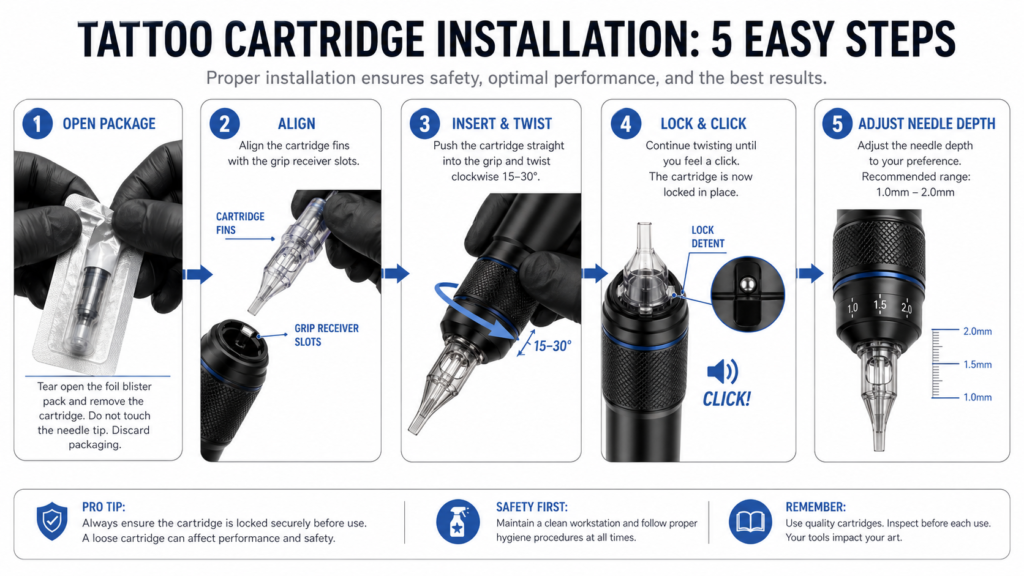
This is the muscle-memory part. Do it right thirty times and you will never think about it again. We break it into five small steps, but in practice they flow together as one motion.
Unwrap → Insert → Push & Twist → Click → Adjust Depth
Step 1: The Unwrap (5 Seconds)
Tear the foil at the pre-cut notch, not from the middle. Pull the cartridge out by the plastic hub, never the needle tip. One clean motion. If you stop to re-grip, you add two seconds and risk brushing the sterile needle against your glove.
Step 2: The Insertion (5 Seconds)
Hold the cartridge so the needle points the same way your grip faces. Line up the plastic fins on the hub with the slots inside the grip receiver. Most formats use a keyway system, so there is only one correct orientation. Forcing it in wrong chews the plastic and ruins the precision fit we machine to within 0.05mm.
Step 3: The Push & Twist (5 Seconds)
Push the cartridge straight in until you feel resistance. Then turn it clockwise about 15 to 30 degrees. Do not crank it like a jar lid. The lock is a small spring ball in the grip that clicks into a groove on the hub. Twist too hard and you flatten that groove. Gentle pressure, then wait for the click.
Step 4: The Click (5 Seconds)
You should hear or feel a faint click. Pull gently on the hub. It should not wiggle. If it slides back out, you missed the lock. Take it out, check for plastic debris in the grip, and try again. A loose cartridge vibrates, ruins line consistency, and can spray ink.
Step 5: Depth Adjustment (10 Seconds)
Power on the machine. Turn the grip dial so the needle sticks out about 1.0mm to 2.0mm past the tip, depending on your style. Lining usually sits near 1.0mm. Color packing and soft shading can go up to 2.0mm. Do not eyeball it. Use a ruler or a needle-depth card until your fingers learn the distance. One millimeter too deep and you are cutting flesh. One too shallow and you are scratching skin with no ink staying in.
💡 Pro Tip
Run the machine at low voltage while you set the needle hang. You want the needle cycling smoothly with no wobble. If the tip draws a tiny circle instead of a straight line, the cartridge is loose or the grip receiver is worn.
4. Pro Tips for a Clean Setup
After more than a decade of building cartridges, we can tell you the smallest details decide whether a session runs smooth or frustrating. Here are three habits our best clients swear by:
The Membrane Check
Always choose cartridges with a silicone membrane inside the hub. That thin disc is the only thing stopping ink backflow from traveling down the needle bar into your motor. We mold our membranes on automated presses to a 0.02mm tolerance. A missing or torn membrane means your grip internals clog with pigment within one session. Take your pen apart after ten hours of use and look at the buildup. That is what the membrane stopped.
The O-Ring Secret
Most grips have a tiny rubber O-ring at the bottom of the receiver. It cushions the hub and removes micro-play. After a few hundred swaps, that ring flattens or cracks. The cartridge starts rattling, lines go fuzzy, and the client feels the extra vibration. The fix costs about two cents: replace the O-ring every three months if you work daily. Keep a bag of them in your kit.
Switching on the Fly
When you switch from lining to shading mid-piece, do not overthink it. Twist the liner off counter-clockwise, drop it into a sharps container or a clean disposable cup, grab the magnum, and lock it in. Same motion. The only thing that changes is the needle hang, and magnums usually ride about 0.5mm deeper. Pop off, pop on, adjust, run. Thirty seconds, every time.
5. Common Mistakes to Avoid
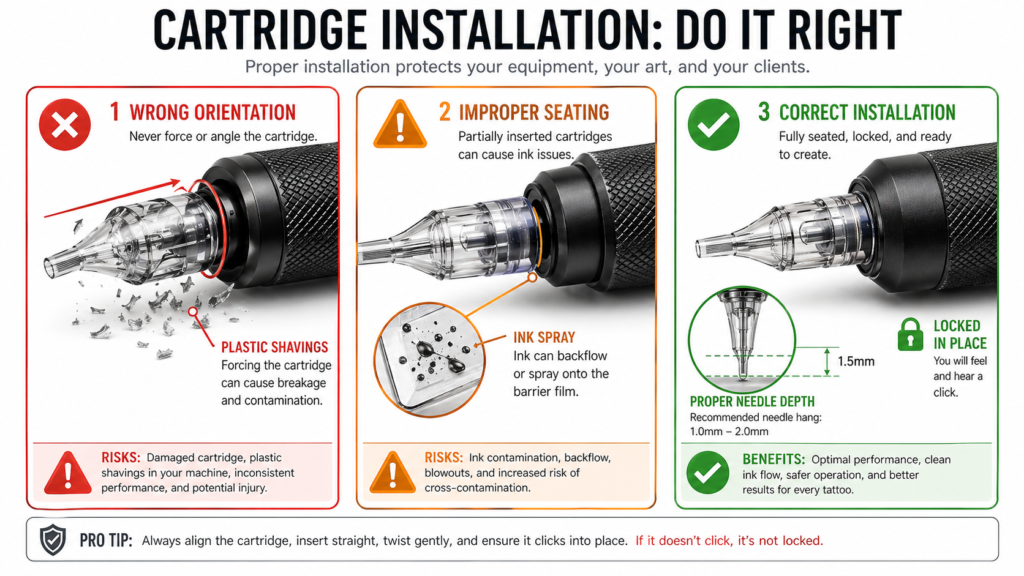
We get warranty photos every week. Most of them are not defective cartridges. They are installation errors. Avoid these three:
⚠️ Warning: A dropped cartridge is a contaminated cartridge. It does not matter if it fell on your clean tray, your pant leg, or the floor. The blister pack is sterile until opened. After that, anything non-sterile that touches the needle or hub breaks the chain. Throw it away. A new cartridge costs cents. An infected client costs you everything.
6. Wrapping Up
Installing a cartridge in thirty seconds is not a trick. It is practice. Give it a few weeks and your hands will move faster than your thoughts. Unwrap, insert, twist, click, adjust becomes one smooth motion. Setup time drops, your focus stays on the art, and the client notices the confidence.
From our factory floor to your station, one rule does not change: sterility first, always. Speed comes from preparation and repetition. Get the fundamentals right and the seconds take care of themselves.
Prep → Install → Verify → Work. Every session. Every time.
What Is Your Setup Ritual?
Do you have your own trick for faster swaps? A favorite taper you swear by? Drop it in the comments. We read every one, and the best tips end up in our next factory bulletin. Still on traditional needles and curious about switching? Tell us what is holding you back. We will answer honestly. No sales pitch, just engineering.